
Arduino:
Arduino is an open-source electronics prototyping platform based on flexible, easy-to-use hardware communicate with software. This is board uses the Atmel microcontroller series. There are many Arduino hardware models.
You must one Arduino hardware to follow practices, I recommend to obtain one of the following Arduino hardware:
- Arduino Uno
- Arduino Leonardo
- Arduino Mega 2560
- Arduino Due
Arduino Uno:
Arduino Uno is a microcontroller based on the ATmega328. It has 14 digital input/output pins this pin 6 can be used as PWM outputs, 6 analog inputs, a 16 MHz crystal oscillator, a USB connection, a power jack, an ICSP header, and a reset button.
It is supporting the microcontroller, simply connect it to a computer with a USB cable or power it with an AC-to-DC adapter or battery to get started. The Uno differs from all preceding boards in that it does not use the FTDIUSB-to-serial driver chip.
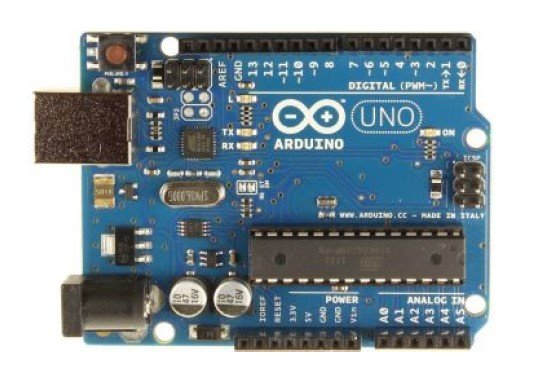
FIG 1: Arduino Board
Cooking-Hacks: Arduino Starter Kit:
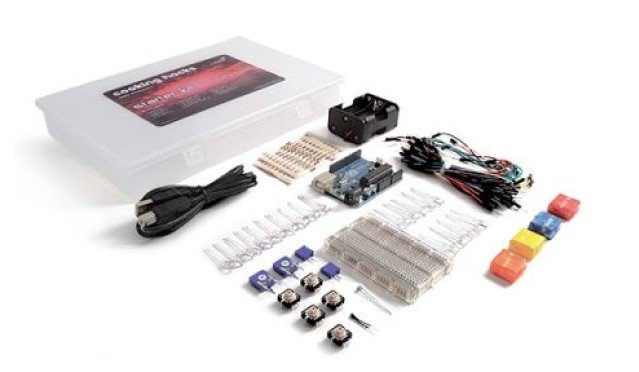
FIG 2: Arduino Starter Kit
MATLAB:
MATLAB Support Package for Arduino hardware enables you to use MATLAB to communicate with the Arduino board over a USB cable. This package is based on a server program running on the board, which listens to commands arriving via serial port, executes the commands, and, if needed, returns a result. This support package is available for R2014a and later releases. It’s available on 32-bit and 64-bit Microsoft Windows, 64-bit Mac OS, and 64-bit Linux.
Testing:
For testing, I used Arduino Uno R3 and Arduino Mega 2560 on OSX and Windows 10 platforms with MATLAB 2017a. I also used the Arduino Sidekick Basic kit for electronic components.

FIG 3: Test
Setting Arduino Development for MATLAB
This chapter explains how to work on setting up the Arduino board on a computer and then, access it from MATLAB.
Getting Started:
In this chapter, we set up Arduino board development using MATLAB support package for Arduino hardware. To set up this development, you must have MATLAB 2014a or later and MATLAB account to verify while installing.
Setting up Arduino Development for MATLAB:
In this section, we try to set up Arduino development for MATLAB. You can configure MATLAB Support Package for Arduino hardware using MATLAB 2014a or later. We also need an internet connection to download this package.
Let’s start.
- Run MATLAB application. Click Get Hardware Support Packages on Add-Ons icon on toolbox.

FIG 4: How to open Add-ons
- Then, you get a dialog. Select Install from the Internet. If done, click
- Next>button.
- Select Arduino on Support for. You should see two Arduino support packages. You can select both. If done, click Next>
- Click an installation button to start the installation.
- After done, you will be asked to configure the Arduino board. Select Arduino and then, click Next>
- The confirmation form will be shown. Click Continue>The program will check if your platform needs an Arduino driver or not. If you’re working on Linux and Mac, you don’t need a driver. You need to install an Arduino driver if you’re working on the Windows platform. Click the Next> button if done.
- Installation is over. Click the Finish button to close installation.

Serial Communication between MATLAB and Arduino:
MATLAB is a versatile software that can be used for a wide variety of applications. How to use MAT LAB to control DC motor, Servo motor, Home appliances.
For the receiving end of serial communication, we are here using Arduino.
There are two ways to set up serial communication between MATLAB and Arduino, one is using a command window and the other is using MATLAB GUI. The Arduino code for both methods will remain the same. If you are new to MATLAB then it is recommended to get started with a simple LED blink program with MATLAB and learn the basic terminology used in MATLAB.
Circuit Diagram:
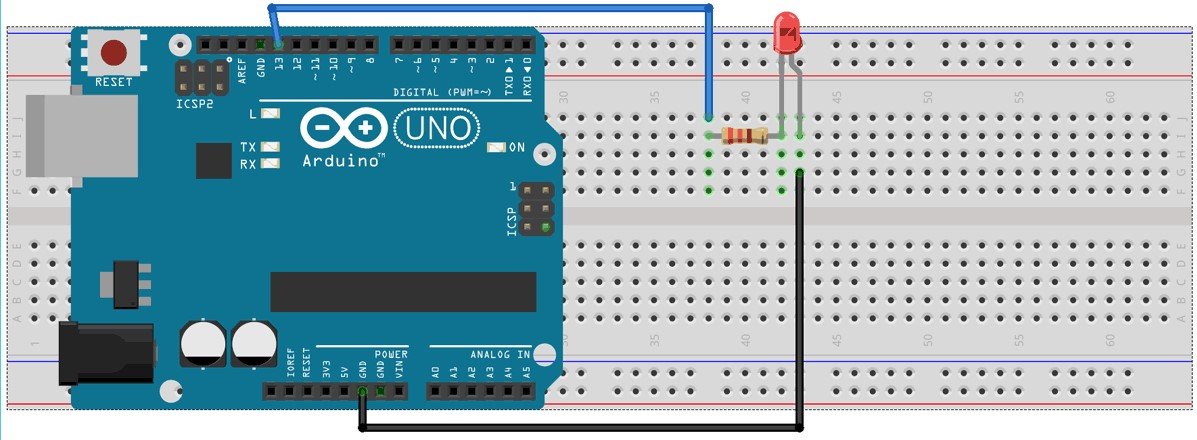
FIG: 6: Circuit Diagram
Serial Communication using MATLAB Command Window:
This is a simple method to set up serial communication between Arduino and MATLAB. Here, simply send the data from MATLAB to the Arduino serially using the command window and then Arduino read the incoming serial data. Then this serially transmitted data can be used to control anything connected to the Arduino. Here we have connected an LED to Arduino, which will be turned on and off according to the serially received data by the Arduino.
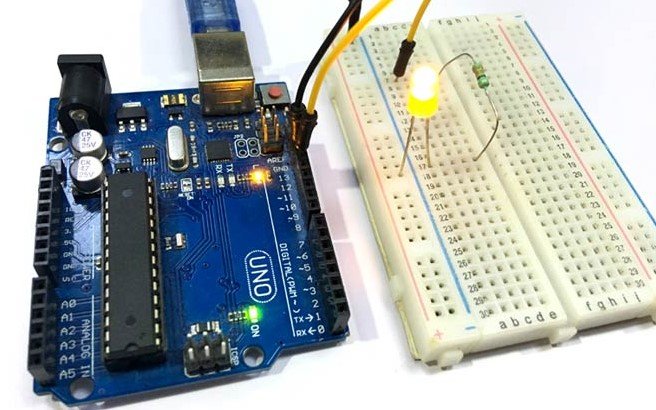
FIG:7: Arduino Connection
First, upload the given Arduino code in the Arduino UNO and then start coding in MATLAB Editor Window. To open a new editor script click on ‘New Script’ as shown in below image:
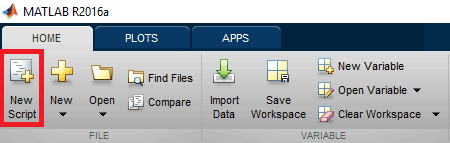
FIG:8: Creating-New-Editor-script-in-MATLAB
Make sure the com port number is the port number on which Arduino is connected and the baud rate should be set same in both the codes of Arduino and MATLAB
x=serial (‘COM18′,’BAUD’, 9600);
To open the serial port, use the below command,
fopen(x);
Below command is used to send data from MATLAB to Arduino serially, where x is for calling serial and a is the value entered by the user.
fprintf (x, a);
We have used while function for creating an infinite loop and whenever the user input the number ‘2’ the loop will break.
while go
a= input (‘Press 1 to turn ON LED & 0 to turn OFF:’);
fprintf (x, a);
if (a == 2)
go=false;
end
end
After completing coding, the MATLAB editor script click on ‘RUN’ to run your program as shown in below image,

FIG 9: Run-MATLAB
MATLAB takes few seconds for processing the code and starts the serial communication, wait until MATLAB shows ‘BUSY’ message at the bottom left corner of the software screen, as shown in the below image.
Now, you will see the command window for sending the user input, we have set the default message,
‘Press 1 to turn ON LED & 0 to turn OFF:’

FIG 10: Default-Message-For-taking-User-Input-from-MATLAB
Send ‘1’ to turn on the LED, ‘0’ to turn OFF the LED and ‘2’ to break the operation. You can set any number for any task, all you have to do is just change the Arduino code accordingly. Complete Arduino code is given at the end.

FIG 11: Sending-User-Input-from-MATLAB-to-Arduino